
How to Install Crown Molding on Cabinets
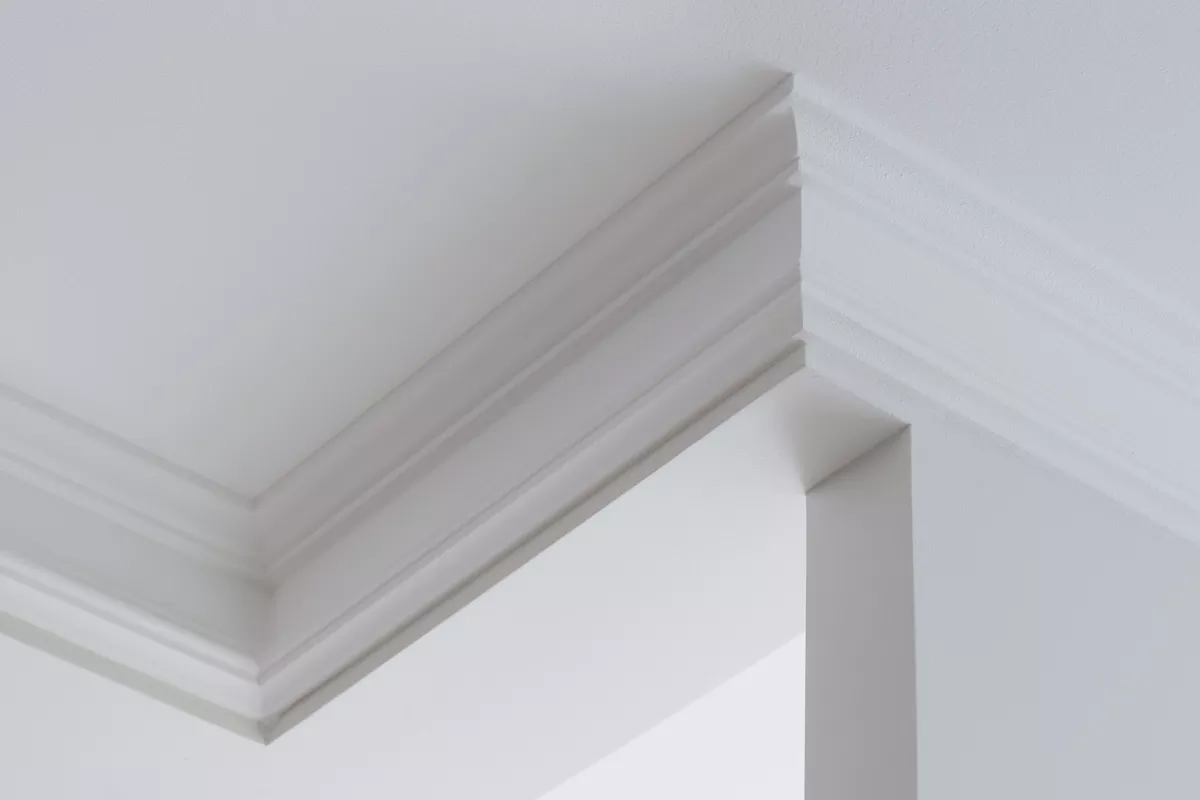
Crown molding is an elegant and timeless addition that can transform the look of your kitchen or bathroom cabinets. It adds a touch of sophistication and a finished appearance to your cabinets, making them look custom and professionally designed.
While installing crown molding on cabinets may seem like a daunting task, with the right tools and a step-by-step guide, it’s a project that can be tackled by DIY enthusiasts. In this comprehensive guide, we will walk you through the process of installing crown molding on cabinets from start to finish:
Rather have professionals handle your cabinetry project? Call Cabinet Coatings!
Our professionals have decades of combined experience in producing polished, stunning cabinetry, including crown molding finish work. We provide laser-precise attention to detail and a commitment to 5-star workmanship every time. Call us at (480) 641-9611 or click below to schedule your free consultation today!
Materials and Tools You’ll Need
Before you begin, gather the necessary materials and tools for a successful crown molding installation project. Here’s a list of what you’ll need:
Materials:
- Crown molding: Choose a style and size that complements your cabinet design.
- Cabinet-grade plywood: You’ll use this as a spacer for the molding.
- Construction adhesive
- Nails or screws
- Wood putty
- Sandpaper
- Primer and paint (optional, for finishing)
Tools:
- Tape measure
- Miter saw
- Coping saw
- Caulk gun
- Nail gun or screwdriver
- Level
- Carpenter’s square
- Pencil
- Safety gear (safety glasses, ear protection, and dust mask)
Measure and Plan
The first step in installing crown molding on cabinets is careful planning. Start by measuring the length of each section of the cabinet where you intend to install the crown molding. Note down these measurements and then add a few extra inches to account for any mistakes or discrepancies.
Consider the design and style of your cabinet. Different styles of crown molding will have different profiles, so choose a design that complements the overall look of your kitchen or bathroom. You may want to bring a sample of the molding to the store to ensure a good match.
Purchase and Cut the Crown Molding
With your measurements and chosen molding style in hand, purchase the appropriate amount of crown molding. It’s a good idea to buy a little extra, just in case you make any mistakes or need to replace damaged pieces.
Using a miter saw, carefully cut the molding to the desired lengths. For each cut, ensure that the saw is set at the appropriate angle. When cutting inside corners, you’ll need to make miter cuts, which means the molding pieces should be cut at a 45-degree angle. For outside corners, you may need to make a coping cut, which requires a bit more finesse.
Prepare the Cabinet and Spacer
Before attaching the crown molding to the cabinet, you’ll want to create a spacer to ensure the molding projects out from the cabinet evenly. Use cabinet-grade plywood to create this spacer. Cut it into strips that are the same width as the face frame of the cabinet. These strips should be attached to the top edge of the cabinet and flush with the front, creating a platform for the molding.
Install the Crown Molding
Now comes the fun part—attaching the crown molding to your cabinets. Follow these steps:
Step 1: Apply adhesive – Apply construction adhesive to the back of the crown molding, where it will contact the cabinet. This adhesive will help hold the molding in place.
Step 2: Attach the molding- Press the crown molding onto the plywood spacer you installed earlier. Make sure it’s flush with the front of the cabinet. Secure the molding by nailing it in place. You can use a nail gun or screws for this purpose. Make sure your fasteners are evenly spaced and driven through the molding and into the cabinet’s face frame.
Step 3: Repeat for all sections – Repeat this process for all sections of the cabinet where you want to install crown molding.
Dealing with Inside and Outside Corners
When you encounter inside or outside corners, you’ll need to cope or miter the molding for a seamless fit.
To cope with an inside corner, make a 45-degree miter cut on the first piece of molding. Then, use a coping saw to remove the excess wood, following the contour of the miter cut. This creates a snug fit with the second piece of molding, resulting in a tight inside corner joint.
For outside corners, use your miter saw to create 45-degree miter cuts on both pieces of molding that meet at the corner. Ensure that the angles are precise for a clean, tight joint.
Finish Work
Fill Nail Holes and Sand
After all the crown molding is attached, fill any nail holes with wood putty that matches the molding’s material and finish. Once the putty is dry, sand the entire surface of the molding to create a smooth, even finish.
Prime and Paint
The final step is finishing the crown molding to match your cabinet’s style. You can either stain and varnish it for a natural wood look or prime and paint it to match the cabinet color.
Staining
If you choose to stain the molding, apply the stain evenly with a brush or cloth, following the manufacturer’s instructions. Once the stain is dry, apply a clear varnish or sealant to protect the wood.
Painting
For painting, start by applying a coat of primer that is suitable for the type of wood or material your crown molding is made of. Once the primer is dry, apply a coat of paint in your desired color. You may need to apply multiple coats for even coverage.
Caulking
To achieve a professional finish, use a caulk gun to fill any gaps or seams between the crown molding and the cabinet or wall. Smooth out the caulk with your finger or a caulk tool for a clean, finished look.
With the crown molding installed, primed, and painted, you can step back and admire your beautifully upgraded cabinets. The crown molding adds a touch of elegance and refinement that can significantly enhance the overall appearance of your kitchen or bathroom.
Want to give your cabinets a custom, high-end look without breaking the bank? Call Cabinet Coatings!
Whether you’re interested in refacing, refinishing, or custom cabinetry, our professionals are here for expert advice and uncompromising quality results. As a family-owned business with more than 15 years of experience, we’re committed to delivering outstanding service that leaves you glad you hired us! Call us at (480) 641-9611 or click below to schedule a no-obligation quote today.
Recent Posts


Laundry Room
A Laundry Room Makeover Has Never Been Easier Laundry Room Cabinet Refacing throughout Arizona Do you have big remodeling plans…

Kitchen
Enjoy the Kitchen Cabinets of Your Dreams for a Price You’ll Love Kitchen Cabinet Refacing throughout Arizona Experience a transformation…

Bathroom
Update Your Bathroom Cabinetry for a Fraction of the Cost of Buying New Bathroom Cabinet Refacing throughout Arizona Breathe new…

Cabinet Remodeling
A New Look Designed for Your Space. Cabinet Remodeling throughout Arizona Cabinet Coatings has been one of the Valley’s leaders…

